Understanding the Siding Installation Process: What to Expect
Upgrading or replacing your home’s siding is one of the most impactful exterior improvements you can make. It enhances curb appeal, strengthens weather resistance, and increases long-term property value. Yet for many homeowners, the siding installation process feels unfamiliar. Knowing what to expect helps eliminate uncertainty, improves communication with your contractor, and ensures you are fully prepared for each step of the project. With proper insight, homeowners can make informed choices regarding materials, design, budgeting, and scheduling.
In today’s remodeling industry, siding plays a critical role in protecting homes from moisture, temperature changes, and structural wear. As homeowners look for durable, energy-efficient exterior solutions, understanding installation procedures has become increasingly important. This guide outlines the entire process—from planning and evaluation to installation and final inspection. By learning how each stage works, you gain confidence in the decisions you make and ensure the investment you put into your home delivers excellent long-term value.
Pre-Installation Planning and Home Evaluation
Initial Consultation and Exterior Assessment
The siding installation process begins with a detailed evaluation of your home’s exterior. During this stage, a professional contractor examines your current siding, checks for structural concerns, and identifies areas vulnerable to moisture, pests, or rot. This consultation helps determine whether repairs are needed before installation and ensures that the selected siding material fits your home’s needs. A clear conversation about your goals, style preferences, and energy-efficiency requirements sets the foundation for a successful project.
Selecting the Right Siding Material
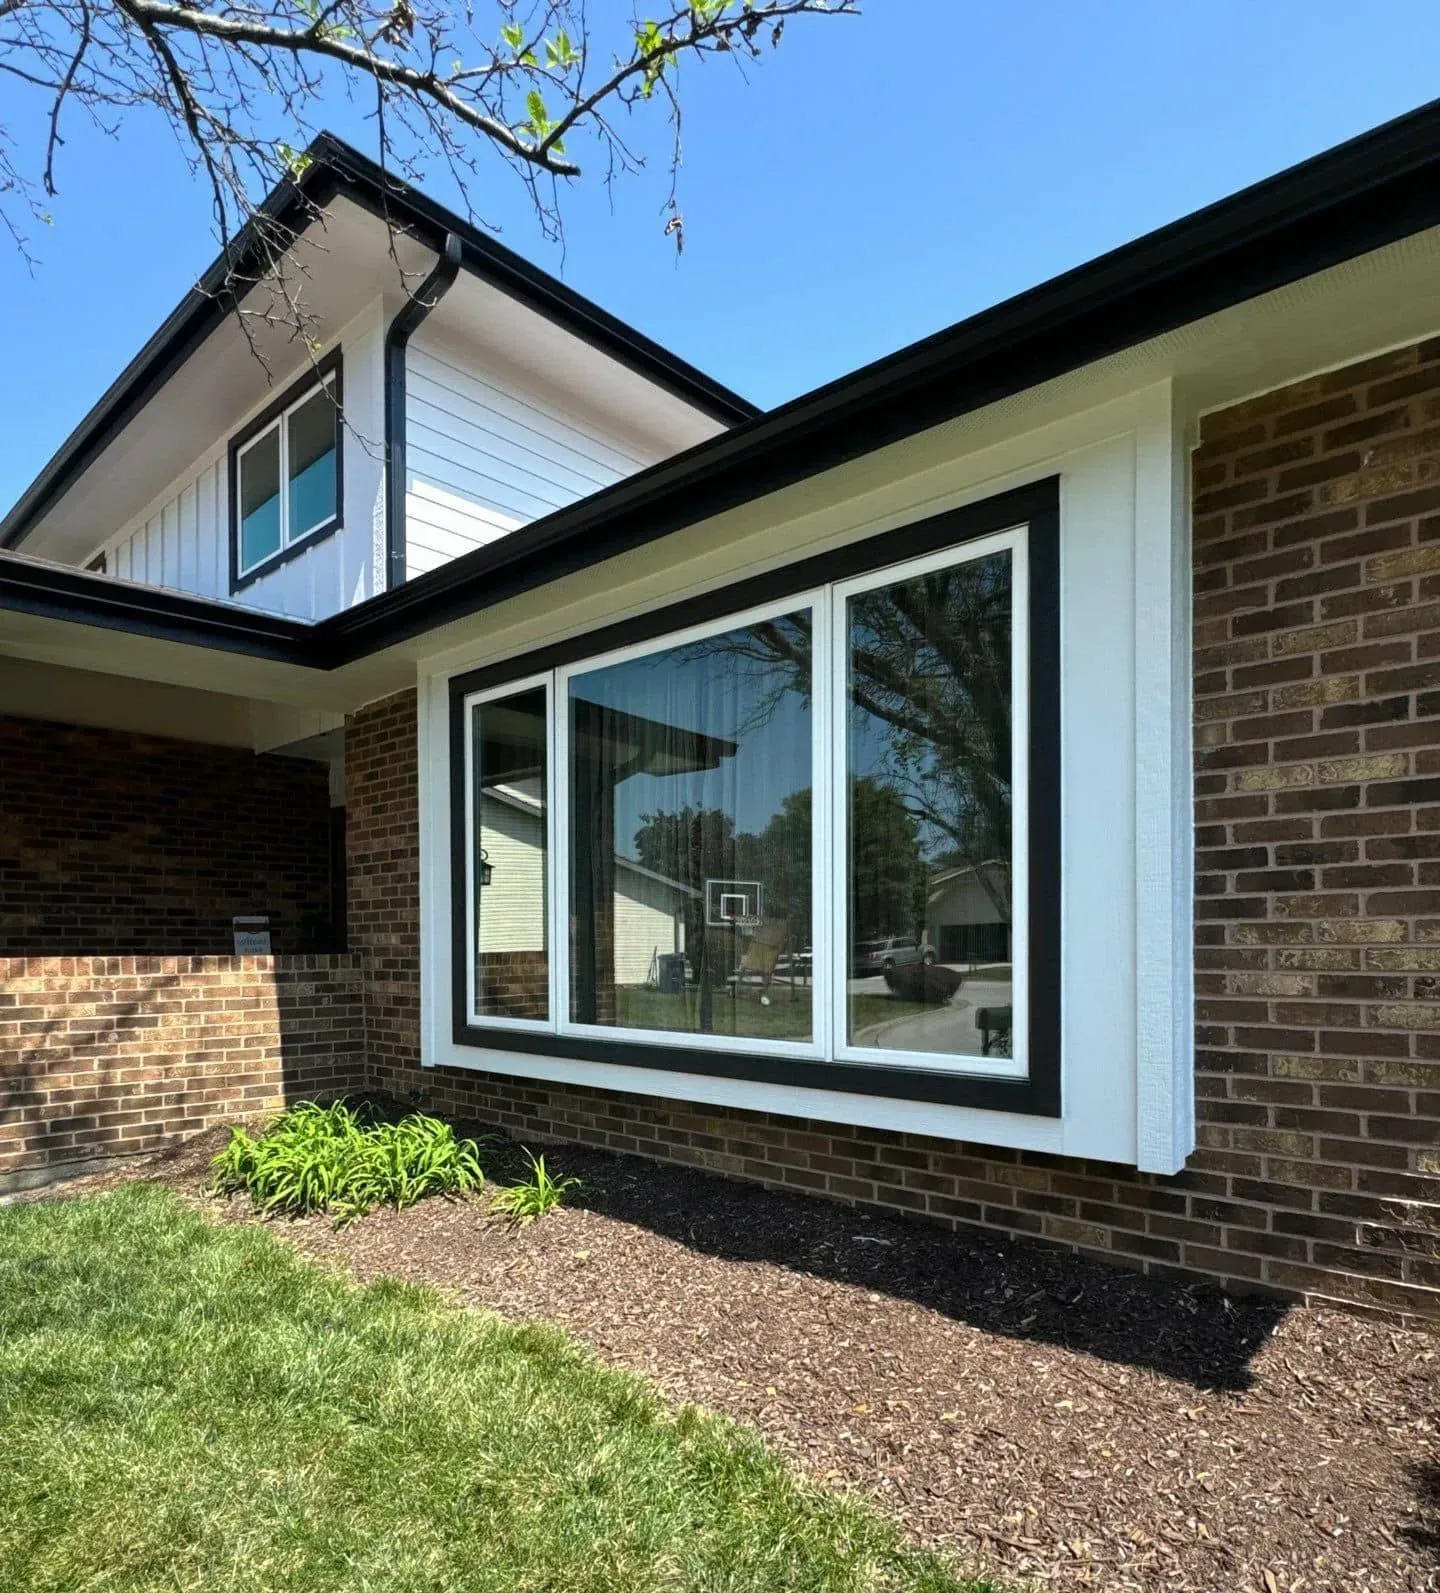
Choosing the correct siding material is critical for achieving long-term durability and aesthetic appeal. Homeowners typically explore options such as vinyl, fiber cement, engineered wood, or composite siding. Each material offers unique benefits—vinyl for affordability and low maintenance, fiber cement for strength and fire resistance, engineered wood for natural appearance, and composites for advanced durability. A knowledgeable installer explains how climate, budget, insulation, and maintenance expectations influence the right choice. Finalizing color, texture, and trim accents completes the design phase.
Measuring, Estimating, and Project Scheduling
Accurate measurements are essential for a smooth installation. Contractors take precise dimensions of walls, openings, gables, and trim areas to ensure proper material ordering. This reduces delays, prevents waste, and helps create realistic timelines. During planning, you will receive a project schedule outlining material delivery dates, daily work expectations, and estimated completion time. Clear planning ensures an organized and stress-free installation from start to finish.
Preparing the Home and Job Site
Clearing the Exterior Space
Before the installation begins, the surrounding areas must be prepared. Homeowners are advised to move outdoor furniture, garden décor, children’s toys, grills, and other items away from the home’s perimeter. Installers may cover landscaping, windows, and nearby surfaces with protective sheets. Creating a clear workspace ensures safety, improves job efficiency, and reduces the risk of damage.
Removing Old Siding
Old siding must be removed to reveal the condition of the underlying structure. Once the exterior layers come off, installers can identify hidden damage such as mold, moisture infiltration, or wood rot. This stage is essential because it uncovers issues that may compromise the new siding if left unaddressed. Discovering these problems early allows contractors to make necessary repairs and set a solid base for the new system.
Repairing and Preparing the Underlayment
After removing old siding, contractors repair damaged sheathing, replace weakened boards, and address insulation gaps. Next, a weather-resistant barrier (WRB) is applied. This protective layer plays a vital role in preventing moisture intrusion and improving energy efficiency. A properly prepared underlayment strengthens the home’s defense against weather and ensures the new siding will perform as intended.
Installing the New Siding System
Applying Flashing and Moisture Protection
Before panels are installed, flashing is added around windows, doors, and roof intersections. Flashing directs water away from vulnerable areas, reducing the risk of leaks and long-term structural damage. Moisture protection is one of the most essential parts of the installation, especially in climates with heavy rain or snow. A skilled installer ensures all protective elements are properly layered and sealed.
Installing Siding Panels and Fastening
The installation process usually starts at the bottom of the exterior wall and moves upward. Each panel must be installed level, securely fastened, and properly spaced to accommodate expansion and contraction based on temperature changes. Precision is absolutely critical—incorrect spacing or fastening can lead to warping, buckling, or premature wear. Professional installers understand manufacturer guidelines and building codes, ensuring that the siding system remains durable and visually consistent.
Adding Trim, Soffits, and Detail Work
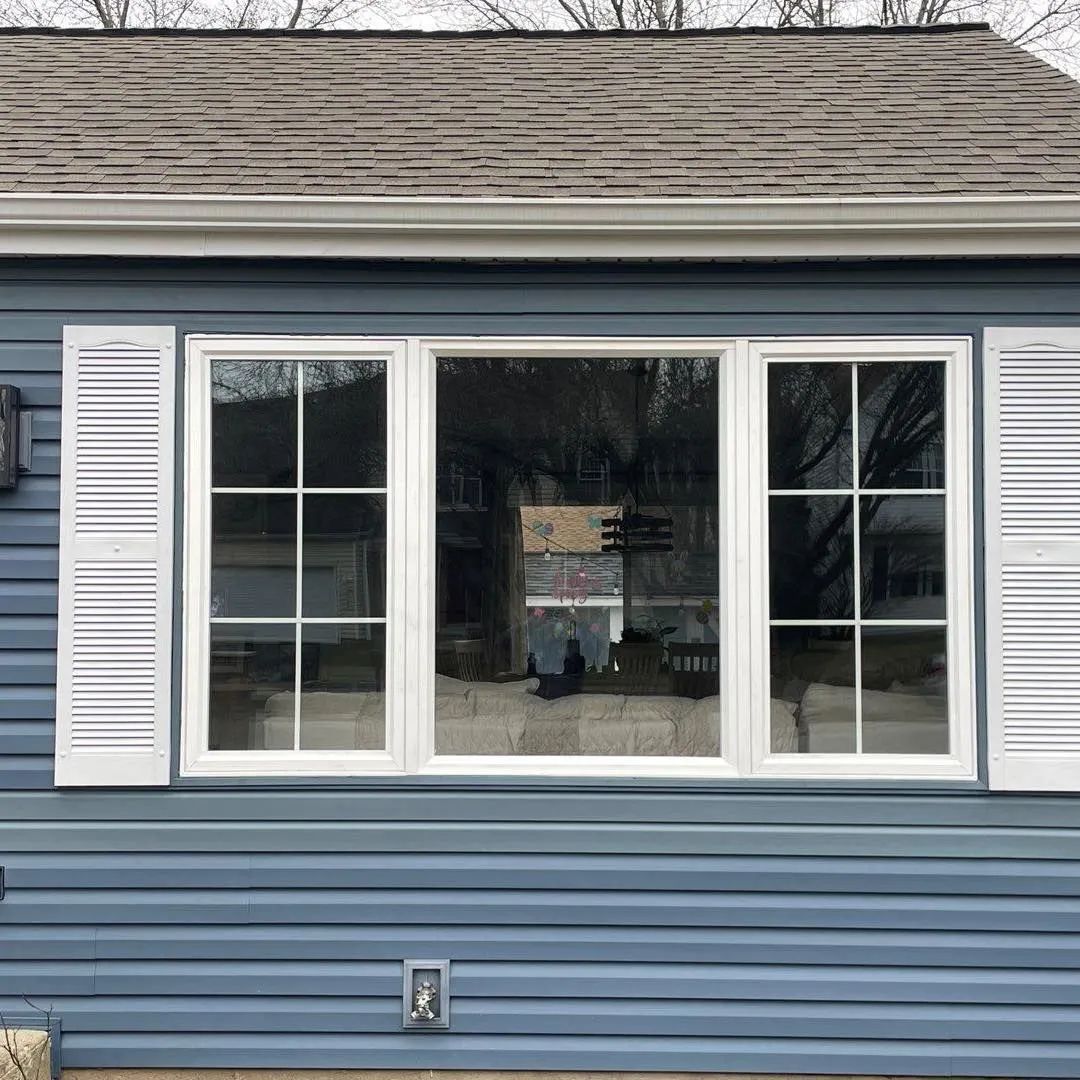
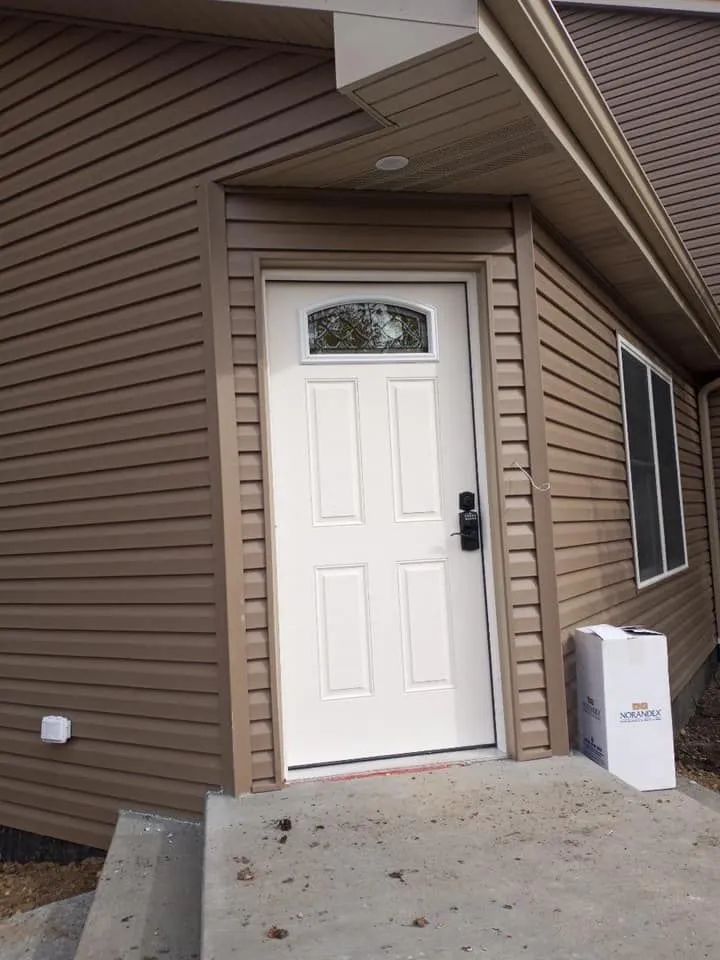
Siding installation isn’t complete without the finishing touches. Trim, corner posts, soffits, fascia boards, and decorative accents add structure, style, and weather protection. These components cover exposed edges, seal gaps, and create a clean, polished look. Properly installed trim supports the siding system and enhances the home’s architectural character. High-quality craftsmanship during this stage brings the project together and elevates the overall appearance.
Quality Control, Inspection, and Homeowner Review
In-Progress Inspections
Experienced contractors frequently inspect the work during installation to ensure the siding is properly aligned, tightly fastened, and sealed against moisture. These inspections help verify that all steps meet manufacturer requirements. Following these guidelines is crucial for maintaining warranty coverage and preventing future issues. Quality checks also ensure that the installation progresses safely and efficiently.
Final Walkthrough with the Homeowner
Once installation is complete, the contractor performs a detailed walkthrough with the homeowner. This includes reviewing all installed siding, checking for imperfections, confirming proper trim alignment, and ensuring weather protection measures are complete. The installer explains siding features, cleaning methods, and maintenance recommendations to help homeowners care for their new exterior. This final review guarantees satisfaction and provides a clear understanding of the finished work.
Managing Common Challenges
Siding projects occasionally encounter challenges such as weather delays, hidden structural problems, or material shortages. Experienced professionals plan for these setbacks by adjusting schedules, providing temporary protective measures, and communicating openly with homeowners. The ability to manage challenges smoothly is one of the strongest indicators of a contractor’s expertise. A well-coordinated team keeps the project on track and ensures the final results meet high standards.
Best Practices and Homeowner Tips
Preparing Your Home Before Installation Day
Homeowners can support a seamless installation by preparing both the inside and outside of the home. Indoors, it is wise to remove fragile items from walls that may vibrate during installation. Outdoors, clearing the work perimeter ensures contractors can move equipment efficiently. Informing neighbors about the project and temporary noise can also help maintain good communication and avoid disruptions.
Why Professional Installation Matters
Siding installation requires technical expertise, specialized tools, and detailed knowledge of building science. While DIY may seem appealing, improper installation can lead to serious problems such as moisture infiltration, panel buckling, or structural damage. Professional installers understand ventilation requirements, fastening techniques, and moisture-control methods. Their skill ensures your siding performs properly, lasts longer, and enhances your home’s value.
Maintaining Your New Siding
Proper maintenance extends the lifespan of your siding. Annual inspections help detect early signs of wear, while gentle cleaning prevents dirt buildup. Checking caulking around seams, windows, and trim ensures effective moisture control. Homeowners who follow maintenance recommendations protect their investment and keep their exterior looking clean, vibrant, and structurally sound.
Bringing Your Siding Project to Confident Completion
A successful siding installation involves much more than attaching panels to a wall. It requires thorough planning, precise execution, and careful attention to detail. By understanding each step of the process—from evaluation and preparation to installation and inspection—homeowners gain confidence in their investment and know exactly what to expect. Properly installed siding enhances curb appeal, strengthens property protection, and increases long-term value. With clear expectations and a knowledgeable contractor, the siding installation journey becomes smooth, efficient, and highly rewarding.
A&D Exteriors and Remodeling
in Oswego, Illinois, brings over 10
years of experience to every siding project. The company is known for its commitment to quality craftsmanship, transparent communication, and customer-focused service. Their team understands the complexities of
siding installation and takes pride in delivering durable, visually appealing results tailored to each home’s needs. From the initial consultation to the final walkthrough, they ensure every step is handled with professionalism and precision. Homeowners benefit from expert guidance on material choices, maintenance practices, and long-term performance. Whether updating outdated siding or enhancing your home’s exterior for improved energy efficiency, we provides trusted solutions backed by practical experience. Choosing a knowledgeable and reliable company ensures your siding installation is completed to the highest standards and built to protect your home for years to come.